Ray Wilson authored this content while he was actively running MFOS as the founder and resident genius.
We retain the content because it reflects a valuable point of view representing that time and place.
Article by Ray Wilson
Features
|
|
Watch the Synth-DIY Experimenter PCB YouTube
|
What does it sound like you ask...?Multi-track demonstration of sounds you can expect:
A *.sfz compatible soft-synth and
Web SFZ Helper
and you can make multi-track songs using voices you create with the Synth-DIY Experimenter PCB project:
Dance of the Sugarplum Fairy (Peter Tchaikovsky)
|
Introduction
If you've been wanting to get started in synth-diy by building a cool sound effect box you can't do better than this project. You will have a veritable plethora of sound generating devices in the palm of your hand although I recommend some kind of case (last joke I promise). This board is packed with simple circuits that sound cool. You'll be surprised by the number of sound possibilities it supports. You don't have to build all of the modules either. You can just build what you want to make a specific sound. You want wind... just build the White Noise Generator and one VCF. You want better wind build the White Noise Generator both VCFs and the output mixer. How about birds or bell sounds... just build the Sound Effect Oscillators an AR Envelope Generator and an LFO. You can go as far as you like with this project.
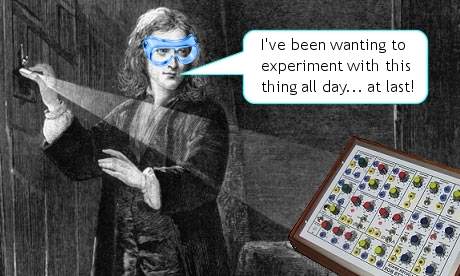
What Famous People Would Be Saying About This Project If They Were Alive Today
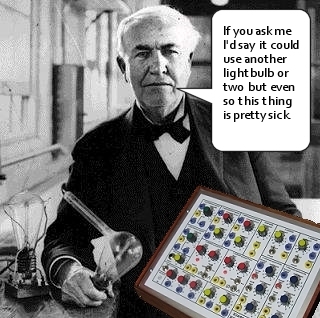
Thomas Alva EdisonIt is a little known fact that Tommy Edison (as he was known as a boy) got into a lot of fights at school over that unusual middle name. But one thing is for sure and it is this. If "Tommy The A" was alive today he would be endorsing the Synth-DIY Experimenter Board.
Leonardo da Vinci
When Leonardo wasn't running around getting involved with plots to reveal the secret identity of Mary Magdalene or inventing the ZZ Top look he was thinking about experimenting with Synth-DIY. Sadly there were no tubes, transistors or integrated circuits around at the time which made it very difficult to do so. However in his thought experiments he probably made some very cool sounds which brings us to the point that Leonardo would have most assuredly endorsed the Synth-DIY Experimenter Board.

You make cool sounds with the Sound Effects Box by turning knobs, switching switches and by patching the various "modules" together. Let your creativity go wild, take turns seeing who can make the coolest sound.
This project is designed for people who have successfully completed the WSG and have a desire to go further in sound generation and synth-diy. This project will NOT result in a 1V/octave moog like instrument but it will provide you with a lot of sound making fun. The project PC board has all of the circuits described in the Features list above and I will present them one at a time so you have a good understanding of the individual circuits. You can build whichever "modules" you want. I'll also give some suggestions for what can be done with various combinations of the circuits. In any case it will be a fun learning experience and the finished project will keep you and anyone else within earshot very entertained.
I will show the parts layout and parts list (BOM or bill of materials) for each individual module. Worry not, I will also show the parts layout for the full PC board as well as a complete parts list all in one place as well.
Prototype PCB Support
Prototype support documents can be accessed on the "Ideas..." tab.
Some Global Comments
In order not to repeat myself too many times on the following schematic pages here is some information that applies to all of the circuits. PLEASE READ OVER EVERYTHING BEFORE YOU BUY A BOARD OR PLUG IN YOUR SOLDERING IRON.Target Audience and Project Difficulty
This project is targeted towards people who have successfully made a WSG and desire to learn more about electronics and synth-diy. This project does not result in a equally tempered pitch playable instrument in the traditional sense. The oscillators and VCFs are not 1V/octave and are designed to produce cool sound effects. The MFOS site has many many other projects that do that if your interests lie there. However I think this thing is kind of a blast to tinker with and I plan to both attend some electronic sound battles armed with nothing but a full version of this project and produce some very cool sound collages for YouTube with mine.As far as difficulty you will find this project to be a definite step up from the WSG since it has a lot more circuitry and components but each section of the PC board is fully explained and able to be used individually so you can start off small and build up as you desire. The YouTubes show how you can make some cool sounds using only select portions of the circuitry. Owning or having access to test equipment such as an oscilloscope and DVM will be essential. If you don't own test equipment maybe you have a friend who does or your school will let you access it's electronics equipment. If your school has an electronics lab the electronics teacher can be a great resource for you regarding your synth-diy projects.
I have really tried to make the documentation complete and understandable. However if I missed something please email me and I'll try to clarify and improve the explanations where needed.
Power Supply
If you plan to build all of the modules on the board and make a giant "Sound Effects Box" like the one described on the "Ideas..." tab I suggest buying or building a bipolar power supply that outputs either +/-9V or +/-12V. If you only make a couple of the circuits or build the smaller "Half Sandwich" version you can use two nine volt batteries to make a +/-9V supply (described on the "Ideas..." tab).I default to using +/-12V in my circuits (my bench power supply is set to +/-12V the great majority of it's life) but these circuits can run off of +/-9V supplies including and most safely for beginners two 9V batteries connected to supply +/-9V. So when you see +V or +12V in a schematic or in a schematic description, know that if you are using +/-9V for your supply that you can safely connect the +12V or +V point to +9V and you can safely connect the -12V or -V point to -9V.
Panel Jacks
The Experimenter Board is designed to be a patchable system. That is, you connect the modules together via patch cables rather than having a fixed or normalized connection scheme. This allows you great freedom in your sound making adventures and in interconnecting your project with other instruments or synthesizers. You can use banana jacks, phone jacks or whichever type of jacks you like for the front panel connection points. Remember that if you connect the project you make using the Experimenter Board to another unit that there needs to be a common signal ground connection between the two units or nothing will work. The phone jacks will provide the necessary signal ground connection if the rings are all connected to the ground of your Experimenter Board project. With banana jacks you will need to include a signal ground banana jack that can be connected to the other unit's signal ground connection point or the unit you wish to control with your Experimenter Board project will not respond properly at all.
